I actually bought more pieces of my outfit then I had previously. one of the perks and downfalls of having a job slightly more money (not much) but a lot less time. I decided to go for her clear heart clothing, mainly because it's simplest and something I think i can pull together in a few weekends.
  The only thing I didn't like about this outfit was the amount of exposed skin, i'm also quite top heavy so the idea of trying to find strapless support was frighting, no support is not an option and clear straps end up being very shiny/reflective. So I decided to go with a leotard with short sleeves. I bought it off amazon ($18) in a "nude" color... which isn't even close to disappearing on my skin. After searching a bunch of blogs and such I saw a few tips from ballerinas on dying with Rit dye. I decided to get a new pot for $11 so I don't contaminate anything else and use some old coco brown powder dye I had left over for a different project. I used a hot water bath and dyed the leotard for about 4 min and the rinsed it multiple times. I also hand washes it and hung it to dry. Once dry I think I got fairly close definitely not far enough off to re-dye it.
 I was about to buy more fabric, then I realized that since I've wanted to make this outfit for a while I probably already had fabric I rummaged through my craft room and found about 2-3 yards of red fabric and maybe 1.5 yards of yellow fabric. I decided to eyeball some of the measurements, but cut out 2 pieces for the backs and 2 for the front. I sewed the back and front of each side together (but not all the way up), then used a basting stitch to sew the crotch. I then realized I was out of fabric and didn't have enough to make the back portion.
Off to the store, where I bought some more red fabric (luckily it was the same color since I forgot to bring a sample) 2 packages of black bias tape and some stretchy and non stretchy white material for the top and the white elements on the pants. I know I need t
he white belt on the pants, but I haven't decided if I will make a second pair of pants to sew inside the first, or try to make pockets.


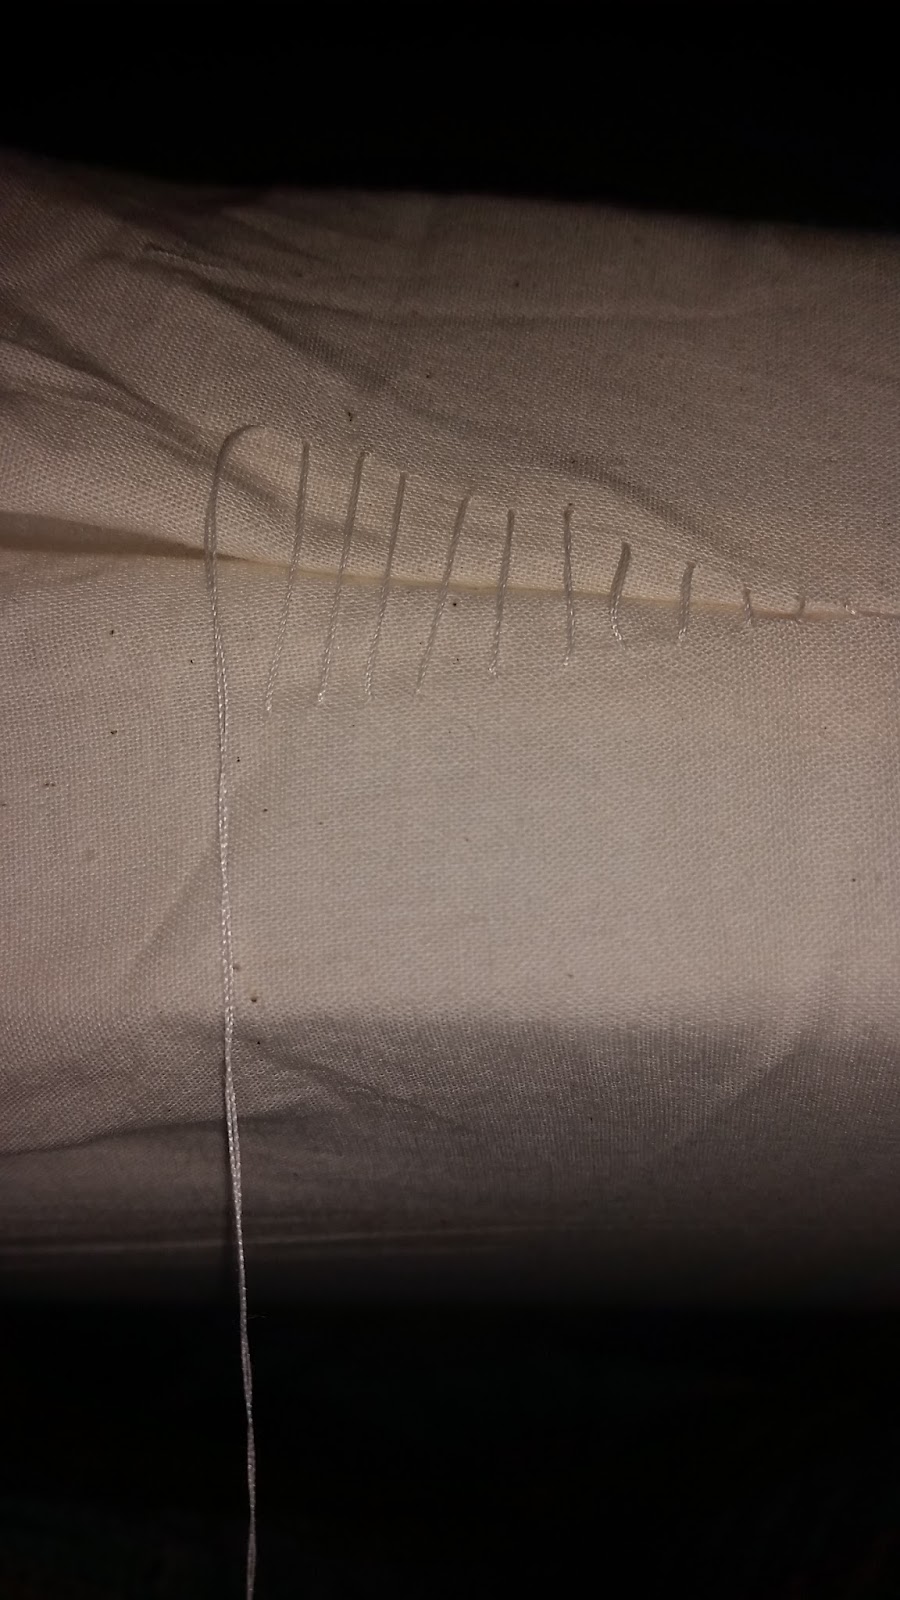
 Next sewed the yellow and black to the red pants. I used quite a few pins to make sure the flames didn't move around too much. Sewing in the shape of flames is already difficult, So I took out the basting stitch in the crotch to make the legs lay flat. I left a large chunk of yellow at the bottom I plan to hem since it looks like the inside is also yellow at the bottom.Then I sewed the crotch area again, I'm thinking I will probably add an additional zigzag stitch and use a black marker to make the flames look like they line up and have sharper peaks once i cut away excess fabric.
At this point I had to take a break and get ready for the rest of the week, although I did pick up some oil sheen and sprayed down the wig I bought off of amazon for $27. While I was on amazon I also picked up a few fairy tale temporary tattoos... 15 for $9. I know I only really needed one, but I've already applied one just because it's fun!
Next tasks:
- Make the top
- Add white to pants
- Hem/finish pants
- Style wig