Thursday, December 6, 2012

Glazzed

I didn't keep track of how many pieces I made... however I did keep track of how many pieces I glazed.
I must have been on a mission to use almost every glaze in some way or another. What follows is a general description of each piece then a description of the glaze process. (More pictures to follow)
  1. First small 'bowl' in brown clay
    • This was from the previous post
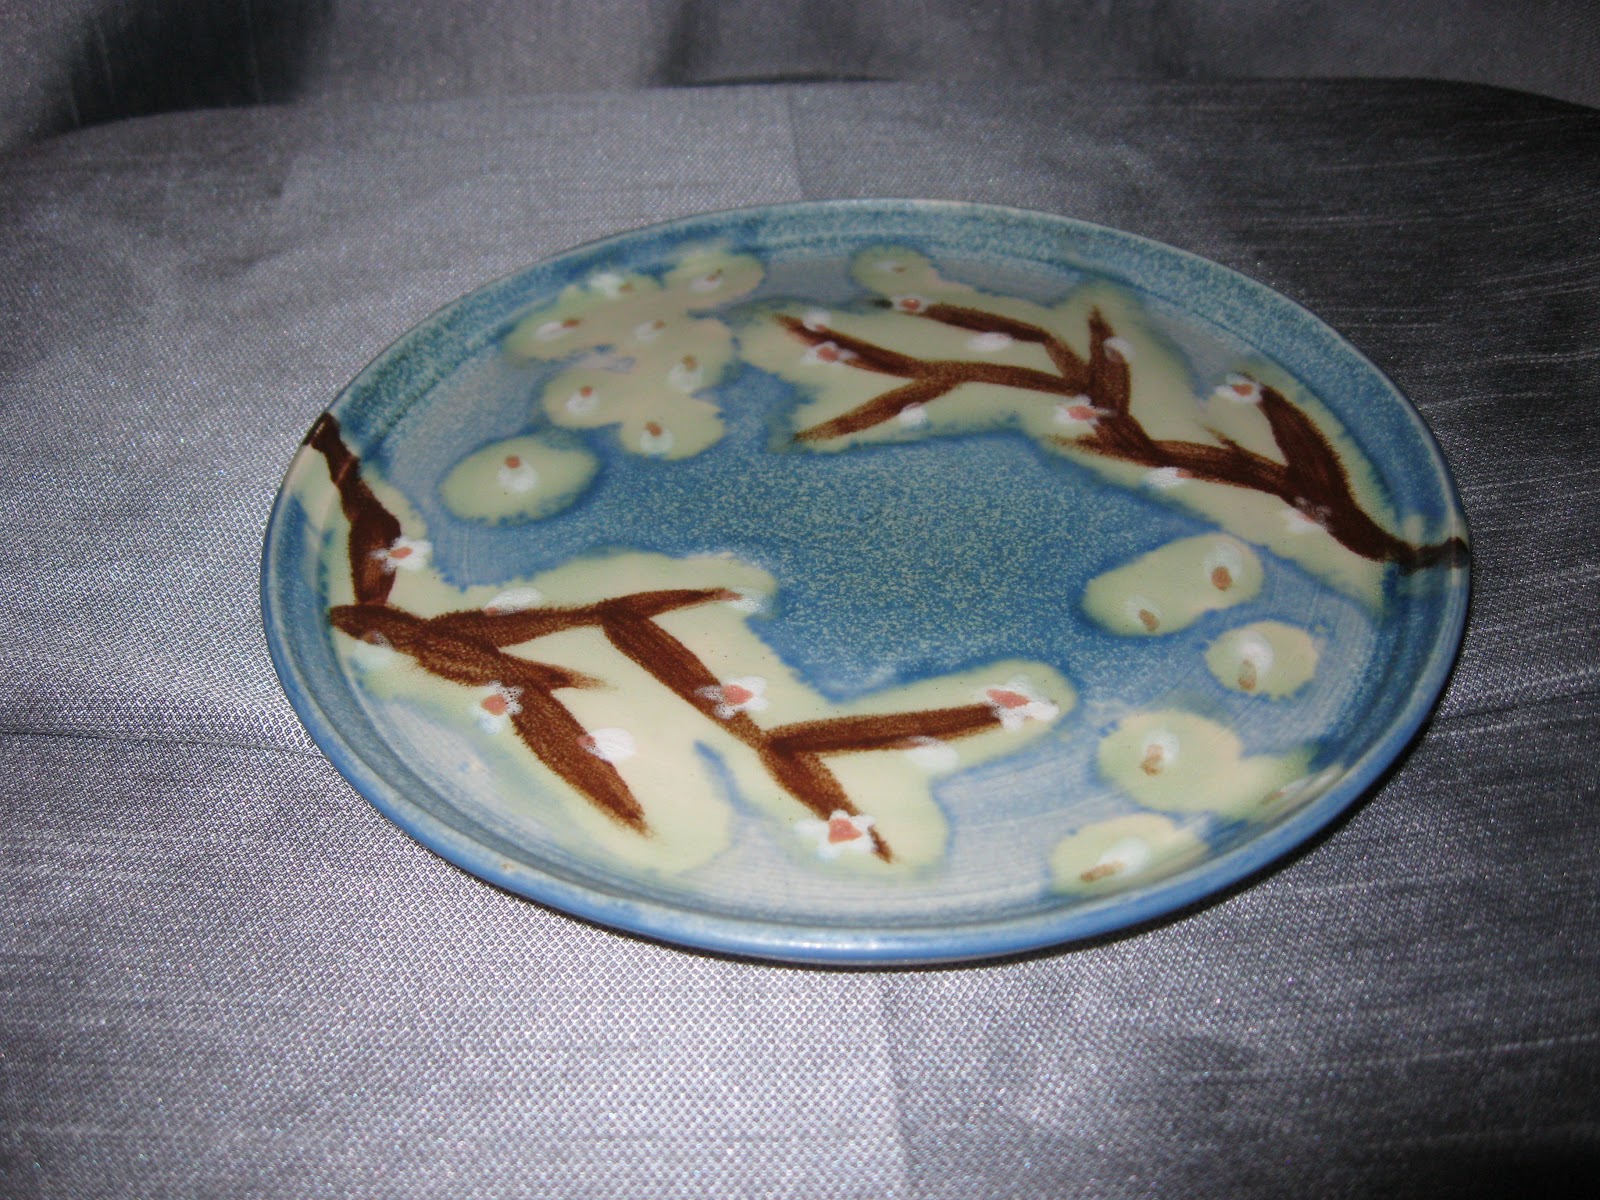
  2. Plate with blue slip design with spirals
    • Aquamarine Sorbert with a spray application on top
    • Concentrated spray in the middle
  3. Plate with blue slip design with dots
    • Aquamarine Sorbert with a spray application on top
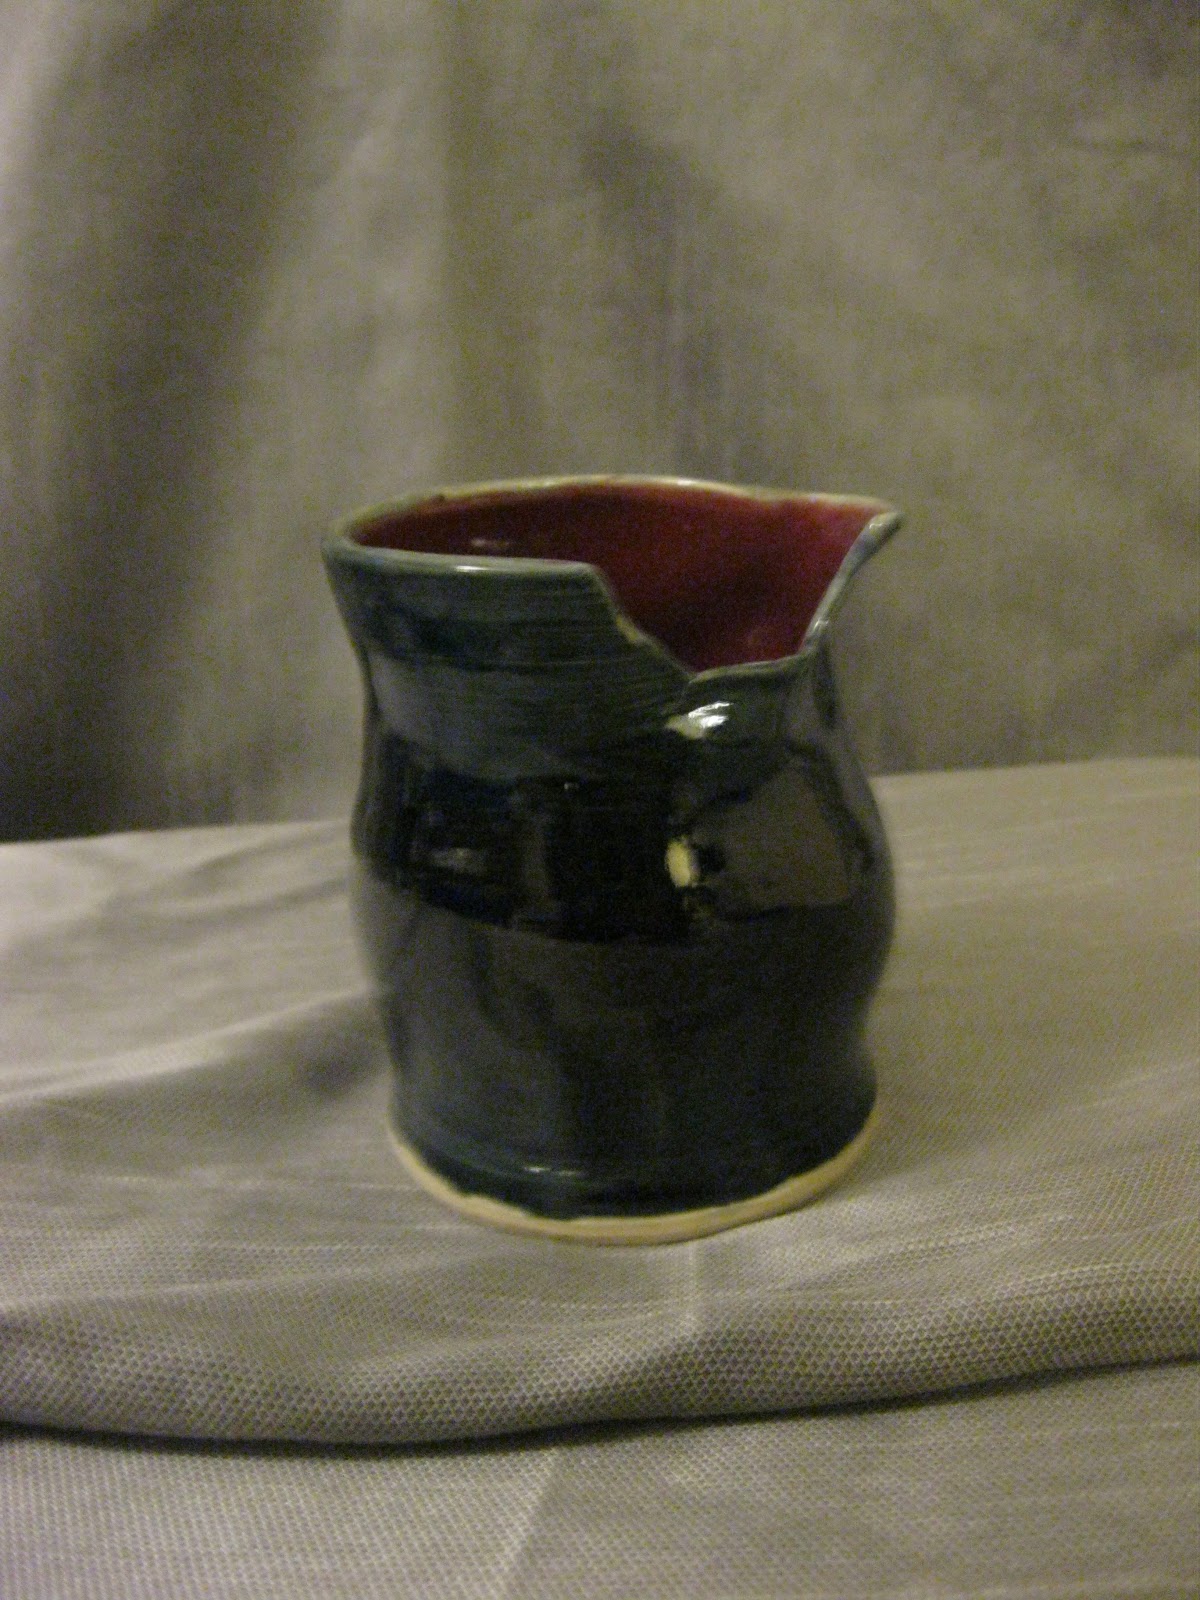
  4.  Tiny vase with a chip out of it
    •  Poured Mauveyish on the inside slowly rotated it and then dumped it out
    • Sprayed Ebony on the outside
  5. Tiny vase without a chip
    •  Poured Ebony on the inside slowly rotated it and then dumped it out
    • Sprayed Mauveyish on the outside
      • After glazing it came out with strange bubbling on the inside with spots that appeared to have had the glaze dripped off inside sections
    •  Re-glaze involved heating with hair dryer and painting more Ebony on the inside and Re-painting the upper half with more Mauveyish
  6. Vase with blue slip on outside and dots on lip
    •  Poured soft white on the inside 
    • Dipped into Mint Green
  7. Little bobble pot 
    •  Sprayed Ebony on the inside (light coat)
    • Dipped half in Celadon
    • Dipped half in Noxema Blue
  8. Vase
    •  Inside Noxema Blue
    • Outside dipped into Ice blue
  9. お母さんの誕生日(4)
    •  Inside on the bottom Katlyn's Green let dry then put wax over it
    • Poured in Powder Blue and wiped off from the bottom of the inside
    • Dipped into Noxema Blue for the outside
  10. Plate with brown slip
    •  Sprayed a base of Chamelion 
    • Sprayed shots of Seafoam radiating from the middle towards the outside
  11. wavy rim bowl
    •  Curious george inside and on the top
    • Noxema blue on the bottom
  12. Large plate
    •  Kilin Room Blue sprayed on 
    • Underglaze painted design in Red brown/white/pink
    • Clear glaze painted over dry design
    • Wax over clear glaze portions
    • Spray Golden Blue over the top of everything
    • whipped off Golden Blue from wax portions
  13. Small plate
    •  Chameleon sprayed on 
    • Underglaze painted design in Red brown/white/pink
    • Clear glaze painted over dry design
    • Wax over clear glaze portions
    • Spray Golden blue over the top of everything
    • whipped off golden blue from wax portions
  14. Chipped pot
    •  Ice blue on the inside
    • Noxema Blue on the outside
  15.  Second small 'bowl'
    •  Inside Floating Red with Floating Blue on top
    • Outside Floating Blue with Floating Red on top
  16. White bowl
    •  Lemon curd on the inside
    • Oribe on the outside
  17. Largeish vase
    •  Oribe on the inside
    • Xavier's Jade on the outside
  18. 3rd Brown bowl

    •  Inside sprayed on Soft White
    • Poured Mauveyish inside
    • Underglaze design Black/Terra cotta/White
    • Wax (dripped a bit so need it to be a horizontal surface to apply wax)
    • Sprayed the outside top portion with Aquamarine
    • Sprayed parts of the bottom portion with Katlyn Green

Wednesday, December 5, 2012

Spinning into a new hobby

I've done some minor crafts since the last post

  Most notably for Halloween made quick outfits for 2 of the 3 Powerpuff girls, Blossom (for a friend) and Buttercup(for me)

  Easy cheap costumes since I still had about 4-5 yrds of Muslin left. Just cut two rectangles and sewed up the sides and left space for armholes. Then made a rough cut to shape it better and re-enforced the sides. Then I dyed each the appropriate color and made black "belts" with stiff material I found at walmart. The belts were held on with safety pins. We each wore white stockings and I bought a cheap black wig and chopped some rough bangs into it and made it chin length.

  About a month ago I discovered an Arts and Crafts center in the basement of the university student center. In this center there is a pottery studio, set up for silk screening, ready-made ceramics to paint and some other crafts. They offer classes open to both students and the community.
  The fee for use of the facility is $70 a semester for students with the cost of classes ranging from $40-$70 per class. The nice thing is that they pro-rate the facility fee for after half the semester. So I only paid $35.
  I have tried pottery before when I was much younger, I still remember begging my mom to learn how to throw pottery using a pottery wheel and being told I had to wait because I was too small. They only had kick-wheels (exactly as it sounds you have to kick the wheel to keep it spinning) and I was too short to reach the wheel with my feet when sitting. Later on my mom found a place with electric wheels and I was able to learn.
  The space has two types of clay for sale, brown clay and white clay each in two sizes, 6lbs for $6 plus tax and about 20lbs for $20 plus tax. I started with a 6lb bag of brown clay and decided to just try my hand to see what I could do. After about 10 min of struggling a nice woman decided to help me out by giving me a demonstration on centering the clay and throwing a bowl. After this and a few more missteps I was able to finally make two small 'bowls' I then ran out of clay and got 6lbs of white clay to see how that would work, I found the white clay easier to work with on the wheel. Some people told me the brown clay was much easier for hand building. One thing I discovered was it is a lot easier to throw with lots and lots of water and really short nails to keep from tearing the clay when trying to shape it. The next day I bought 6 more lbs of white clay. Armed with one day's experience and tons of youtube videos I tried again and again. I got more help from other women in the center. I had been trying to divide the clay into about 1lb chunks and by the 3rd day  I realized that it is easier to deal with about 2-3lbs of clay at a time so this time I dove in with 20lbs of clay breaking it up into about 2.5 lb chunks.
  Since the craft center is student run at the university they are closed during all university holidays, on Sundays and for football games (Which are big down here), otherwise they are open from 1300-2200 Monday-Thursday 1300-2030 on Fridays and 1200-1700 on Saturdays. The most important part is that they are closed for winter break. So the deadline to finish playing with wet clay was November 20th, and glazing Dec 10th. My goal was to get as much practice in before the deadlines passed.
  I realized after the second day that I kept forgetting what I had made. I might need to take pictures or something after I'm done.

  So the deadline passes for wet clay and I must go glaze all the pieces. This is where I realized I have no idea what I made, save two or three pieces. I had to look at the bottom of every piece to see if it had my initials on it.  After talking to a few people, spending a few days staring at the glazes, and having another nice woman show me how to use the spray booth, I started to glaze my first piece. Since I had been told that you are less likely to recognize your pieces after the glaze process I kept a notebook stating what color glaze I used where and how I applied it.

  I glazed my first tiny 'bowl' with Seafoam inside by pouring some in and then dumping it out, then I used Aquamarine Sorbet in the sprayer to spray the outside and then I dunked the rim into soft white. Two days later I got my first piece back and went on to glaze the next 15 or 16 pieces and am waiting to see how they turned out :)