I've always had trouble cutting fabric. Once you cut you're done no second guessing. I guess it's the permanence of it all. I am rarely decisive unless I absolutely have to be. The down side of this is that I have tons and tons of fabric I haven't cut into because then it would be gone. I've been trying to work on this little by little. Today I took the scissors in hand and just hoped whatever I did would work out in the end.

During a short trip to wal-mart with a friend (their $5 bolt bin is dangerous to my sanity), I was looking around for some $5 white ribbed shirts however all I found were 2 different types. One marked down to $10 and one not on sale for $12. The one marked down had a low neckline and was close to what I wanted but not quite the quality of material. However the $12 one was perfect. In my last post I mentioned buying 2 of the shirts to use the backs as fabric however I was thinking more like a total of $10 not $24. Although apparently $24 for a shirt isn't an unheard of price... I just don't need to spend that much on a costume shirt (especially since I don't know if it will work or not). After walking around for a bit more I realized the shirts I wanted were small size since the fabric had almost a double stretch, so why not just buy the largest one and then I could use the front and back instead of just the back. I was cutting it up anyway. So for $12 I bought the XXL shirt (granted i walked out of wal-mart spending more than $12 but who doesn't?).


After I got home I decided to start cutting it up. I started by cutting off the sleeves then cutting across the shoulders to separate the front from the back. Then I cut across the top of the front section to make it straight across instead of the scoop neck it originally had. I then cut down one side so I ended up with as close to a rectangle as possible. Since the shirt was so big and stretchy I was able to fit the sleeve over my head so that will be perfect for the turtle neck portion.

Next I measured from my shoulder to under my arm which is about 7 inches and Since the material stretches so much I decided I needed about 16 in across. So I cut out a piece from the front in 16 in width and one from the back for the same width. I then realized the back was longer than the front (since the front had the scoop neck). So I decided I can just use the front as the back and the back as the front since I need more area in the front anyway. I then sewed the sides together starting from the bottom and stopping about 8 inches from the top edge. In order to have the two sides fit together, I stretched the back portion while sewing on the serger. I then placed it on the mannequin and pined the tops together to see if i was even close.. and so far it might be ok :).


From how it looks I'm sure I'll have to re-sew the sides once I have the top stitched to make sure it fits properly because as of now it seems a bit big in places but at least I know getting rid of fabric is much easier than adding it.
Lately I've been trying to be careful with my serger and go slow because I broke 2 needles within the span of a day or two. In order not to break anymore I re-threaded the machine, adjusted the tensions back to the settings it came with and moved the plate part further away from the needles in case that was what was hitting. So far my best guess is that one of the threads loops improperly for some reason causing tension on the needle and making it bend just close enough to the plate to hit it and snap it. Hopefully I've fixed the problem it appears to sew fine without fabric and with fabric, for now at least, I'm just taking it slow.
Hopefully this entire project will be done for under $20 :) I was able to pick up a small bolt of black fabric for $5 to make the skirt with, and I also picked up a few gold buttons for about $1. I may need some interfacing for a waist band on the skirt but we'll see I may be able to just double up the fabric and not worry about stiffening the waist.


 After I got home I decided to start cutting it up. I started by cutting off the sleeves then cutting across the shoulders to separate the front from the back. Then I cut across the top of the front section to make it straight across instead of the scoop neck it originally had. I then cut down one side so I ended up with as close to a rectangle as possible. Since the shirt was so big and stretchy I was able to fit the sleeve over my head so that will be perfect for the turtle neck portion.


 I've been going back and forth with costumes to make. I really would like to be Urd from Aa megamisama! However I run into issues in her actual costume. I'm beginning to think that I really just need to double up on the fabric I'm using and put in a zipper.... maybe.
 However, she has several other costumes and I've been thinking of ways of introducing various means of support in the costumes. One possibility is building an actual plaster or paper machete support system to go under the clothes and use tape to keep everything in it's place... This will either work wonderfully or be a horrible disaster, unfortunately I haven't had the time to find out.
 Speaking of time I was thinking of 2 simpler costumes. I could be Mion Sonozaki since I have her outfit almost complete, however I don't really like the way I did the wig for her hair and was thinking of maybe just taking it out and being Shion Sonozaki but in that case I'd have to make the outfit which seems fairly simple if I am going with the shirt and wrap skirt. Seems simple enough. Although finding a turtleneck no sleeve shirt in white rib knit fabric hasn't happened and finding white ribbed knit fabric here hasn't worked either. So my best guess would to be find any 2 of the same shirt in this type of fabric, cut the backs off each and sew them together using the extra fabric as the turtleneck. So now I'm looking to get 2 of these shirts for under $5 each...

 About 2 years ago I decided to buy some leather at the ren faire in order to make a bodice. I see the leather ones they have selling for at least $175! Each piece of leather costs about $20 so I figure for about $40 I can make myself one right?


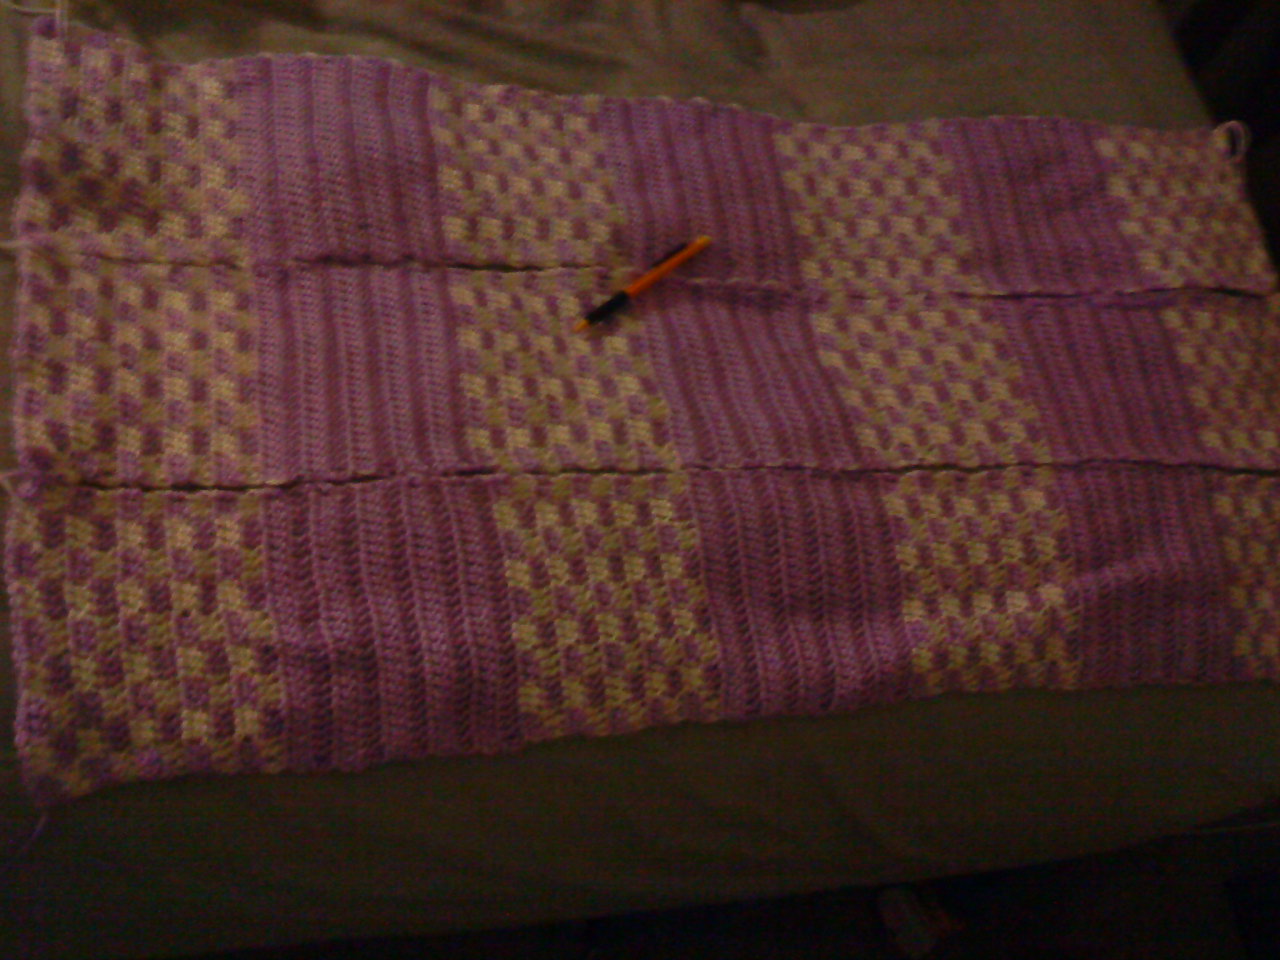
 The left picture has a pencil in the middle for size comparison. These are three of the 5 strips needed to make the blanket. They are all the same. Starting with 10 rows of checkerboard pattern