Sunday, March 6, 2011

The shirt made from a shirt

I've always had trouble cutting fabric. Once you cut you're done no second guessing. I guess it's the permanence of it all. I am rarely decisive unless I absolutely have to be. The down side of this is that I have tons and tons of fabric I haven't cut into because then it would be gone. I've been trying to work on this little by little. Today I took the scissors in hand and just hoped whatever I did would work out in the end.
During a short trip to wal-mart with a friend (their $5 bolt bin is dangerous to my sanity), I was looking around for some $5 white ribbed shirts however all I found were 2 different types. One marked down to $10 and one not on sale for $12. The one marked down had a low neckline and was close to what I wanted but not quite the quality of material. However the $12 one was perfect. In my last post I mentioned buying 2 of the shirts to use the backs as fabric however I was thinking more like a total of $10 not $24. Although apparently $24 for a shirt isn't an unheard of price... I just don't need to spend that much on a costume shirt (especially since I don't know if it will work or not). After walking around for a bit more  I realized the shirts I wanted were small size since the fabric had almost a double stretch, so why not just buy the largest one and then I could use the front and back instead of just the back. I was cutting it up anyway. So for $12 I bought the XXL shirt (granted i walked out of wal-mart spending more than $12 but who doesn't?).


After I got home I decided to start cutting it up. I started by cutting off the sleeves then cutting across the shoulders to separate the front from the back. Then I cut across the top of the front section to make it straight across instead of the scoop neck it originally had. I then cut down one side so I ended up with as close to a rectangle as possible. Since the shirt was so big and stretchy I was able to fit the sleeve over my head so that will be perfect for the turtle neck portion.

Next I measured from my shoulder to under my arm which is about 7 inches and Since the material stretches so much I decided I needed about 16 in across. So I cut out a piece from the front in 16 in width and one from the back for the same width. I then realized the back was longer than the front (since the front had the scoop neck).  So I decided I can just use the front as the back and the back as the front since I need more area in the front anyway. I then sewed the sides together starting from the bottom and stopping about 8 inches from the top edge. In order to have the two sides fit together, I stretched the back portion while sewing on the serger.  I then placed it on the mannequin and pined the tops together to see if i was even close.. and so far it might be ok :).


From how it looks I'm sure I'll have to re-sew the sides once I have the top stitched to make sure it fits properly because as of now it seems a bit big in places but at least I know getting rid of fabric is much easier than adding it.


Lately I've been trying to be careful with my serger and go slow because I broke 2 needles within the span of a day or two. In order not to break anymore I re-threaded the machine, adjusted the tensions back to the settings it came with and moved the plate part further away from the needles in case that was what was hitting. So far my best guess is that one of the threads loops improperly for some reason causing tension on the needle and making it bend just close enough to the plate to hit it and snap it.  Hopefully I've fixed the problem it appears to sew fine without fabric and with fabric, for now at least, I'm just taking it slow.

Hopefully this entire project will be done for under $20 :) I was able to pick up a small bolt of black fabric for $5 to make the skirt with, and I also picked up a few gold buttons for about $1. I may need some interfacing for a waist band on the skirt but we'll see I may be able to just double up the fabric and not worry about stiffening the waist.

Saturday, February 19, 2011

Is there time for costumes?

I've been going back and forth with costumes to make. I really would like to be Urd from Aa megamisama! However I run into issues in her actual costume. I'm beginning to think that I really just need to double up on the fabric I'm using and put in a zipper.... maybe.
I still don't have the pattern down for the mandarin neckline and at this point I'm thinking that without someone else who knows how to alter it I may not be able to figure this one out on my own. So that has been put on the back burner.

However, she has several other costumes and I've been thinking of ways of introducing various means of support in the costumes. One possibility is building an actual plaster or paper machete support system to go under the clothes and use tape to keep everything in it's place... This will either work wonderfully or be a horrible disaster, unfortunately I haven't had the time to find out.

Speaking of time I was thinking of 2 simpler costumes. I could be Mion Sonozaki since I have her outfit almost complete, however I don't really like the way I did the wig for her hair and was thinking of maybe just taking it out and being Shion Sonozaki but in that case I'd have to make the outfit which seems fairly simple if I am going with the shirt and wrap skirt.  Seems simple enough. Although finding a turtleneck no sleeve shirt in white rib knit fabric hasn't happened and finding white ribbed knit fabric here hasn't worked either. So my best guess would to be find any 2 of the same shirt in this type of fabric, cut the backs off each and sew them together using the extra fabric as the turtleneck.  So now I'm looking to get 2 of these shirts for under $5 each...

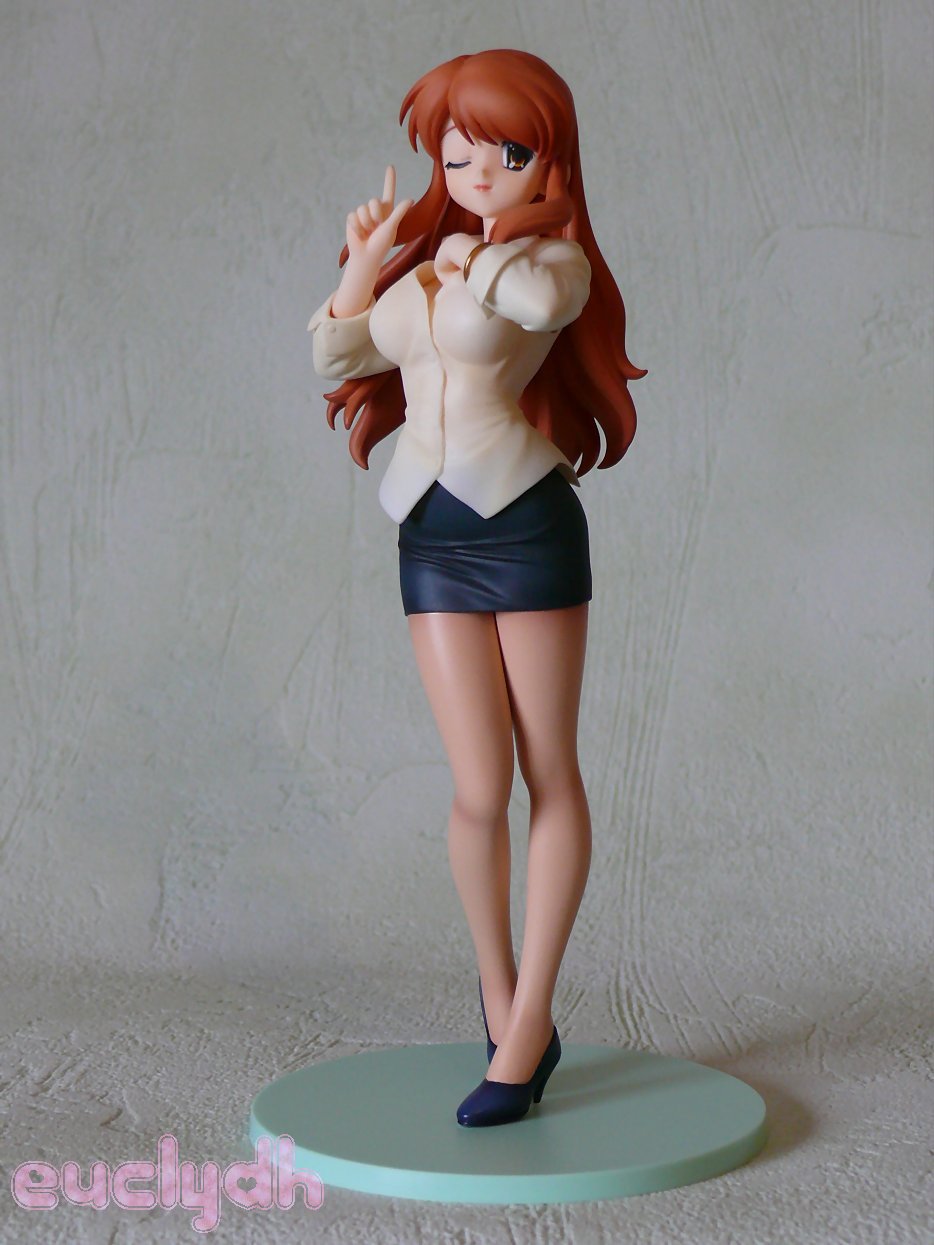
The other idea I had was the adult version of Asahina Mikuru. Her costume is super simple just a dress shirt and a pencil skirt. Although I'm not sure how recognizable it would be. She has an identifiable birthmark in the shape of a star... but it's very very tiny... Without other people dressed up in the same anime I doubt people would know who I was....


Not sure what would be best.

Wednesday, December 22, 2010

Leather courage

About 2 years ago I decided to buy some leather at the ren faire in order to make a bodice. I see the leather ones they have selling for at least $175! Each piece of leather costs about $20 so I figure for about $40 I can make myself one right?


Then again once I cut the leather there is no going back. So there it sat for about 2 years before I got up the courage to pick up the scissors and just do it. I realized that the size of the piece I had could easily use the one piece for the bodice and just cut it to fit. 

I have the excess strips draped across since I've been thinking about adding the straps to really make it a bodice. To the left is a picture of the back. I have since made slits in the back and on the sides so that the leather will lay over my hips. I'm hoping to make it small enough so there is no need for extra support.

I just punched holes to have it line up although I still may need to make it a bit smaller in the middle. I want to be able to pull it together and not quite have it close. I initially was looking for about a half inch gap between the two sides meeting in the front. 

Saturday, December 18, 2010

Crocheting madness!

I've finished the strips of the checkered baby blanket and have sewn them together(pics to come). The next step is to put a border on it, but first I plan to wash it and try to let it dry in a reasonable shape. Not sure if this is the best idea but I'm hoping it would make it more even.


Since that's almost done and I'm no good at finishing one project before starting another one I got more yarn to start the spiral blanket again. This time in purple (caron simply soft grape 9610) and blue(caron simply soft blue mint 9608). 


I think I'm getting it right this time because it hasn't started curling up.  My next step is to find baby yarn that isn't baby colored. I have many more pictures on my camera however they are trapped since I managed to misplace my cable to pull the pictures out.


I haven't done much sewing lately, darn end of the semester got into the way and crocheting is much more portable.

I need to start  working on my outfit for the ren faire which is coming up the end of January beginning of February. I also would like to make a doublet and pants to force my wonderful boyfriend into. Dress-up is so much more fun when you have more 'dolls' to dress :)

Tuesday, November 30, 2010

Baby blankets

I finished the spiral baby blanket. After I finished with the final skein of yarn I realized why it folds over so much. I misread the pattern and instead of adding 26 extra stitches to each row I was adding 52! So instead of having the frilly border the pattern called for I just decided that I was doing a simple border and leaving it at that. I figure I'll try again but next time increasing much slower...

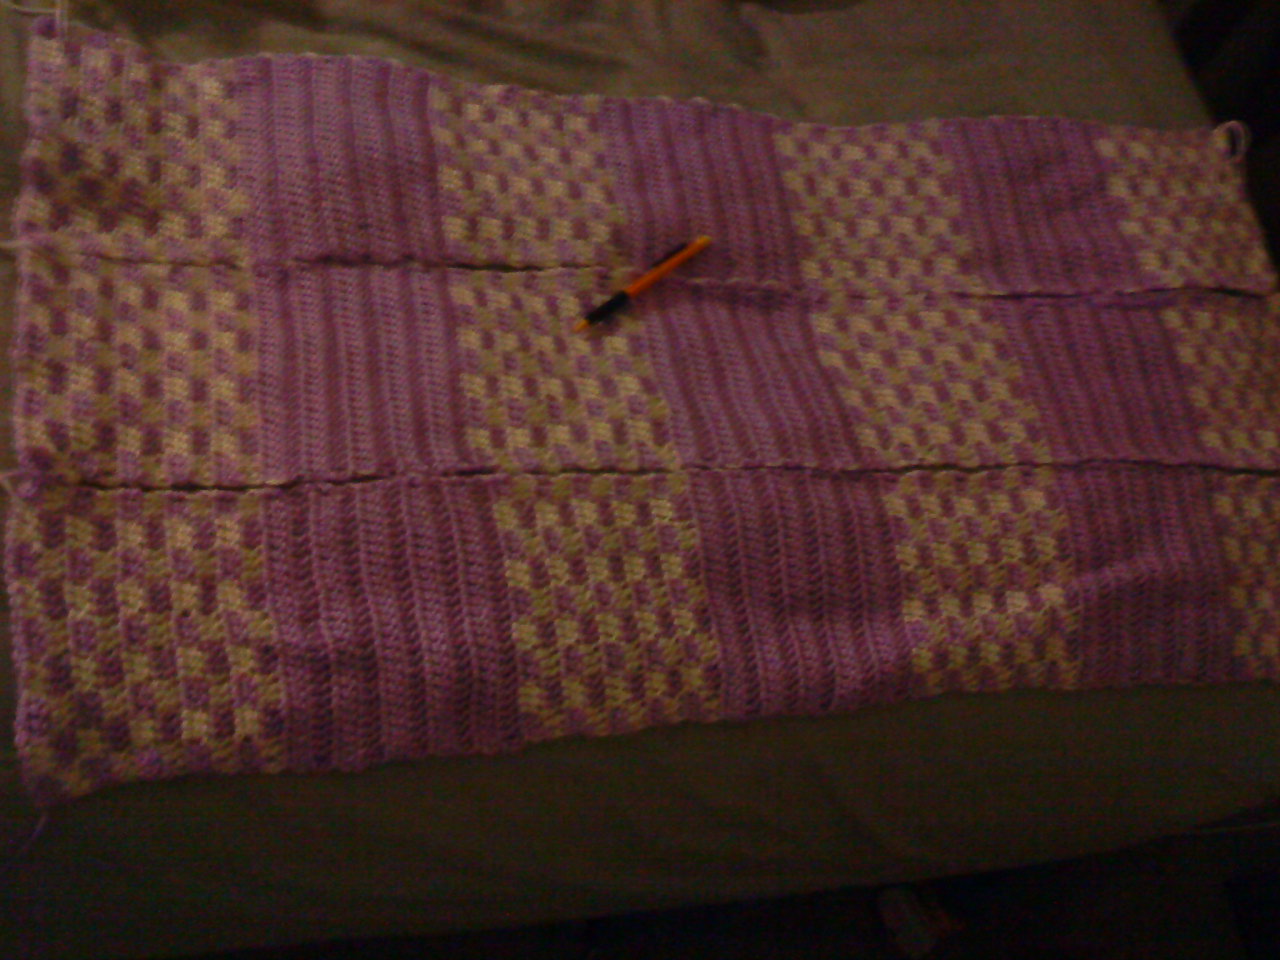
However I did decide I wanted to start this other checkered pattern. I used Caron's Simply soft  yarn in Orchid(9717) and Off White. It calls for 2 skeins of the main color and 1 of the 'white', however since I'm using a slightly larger hook I think I will most likely go through 3-4 6oz skeins of the main color(Orchid) and at most just over 1 of the off white.
This blanket has gone very fast. I started it just over a week ago I think. Although I did quite a bit over the holiday break.

The left picture has a pencil in the middle for size comparison. These are three of the 5 strips needed to make the blanket. They are all the same. Starting with 10 rows of checkerboard pattern

The next two rows will alternate with these and start with 10 solid rows. 6 oz of the orchid got me through almost 2 of these rows but since the next 2 rows will include more solid blocks then checkered so I expect to use more yarn. I currently have about 3-4 oz of orchid left and I most likely will use at least 3 per row.

Since it's close to the end of the semester I expect work on this to slow down (Or at least I hope so since I have so much work to do!) But even still this is an addictive pattern so I expect it to be done in the next 2-3 weeks :)

Saturday, November 13, 2010

Quatro Queso Dos Fritos


So after watching an episode of psych I decided that I have to try and make these wonderful sounding fries.  So here goes my recipe


Ingredients:
Bite size potatoes(at least 12)
5-8 oz shredded 4 cheese mixture(I used mexican cheese mixture)
black pepper
salt
1/3t cayenne pepper
1/2 t garlic powder
2 T olive oil
oil for frying
1/2 cup milk
2t butter
1/2t old bay
4T corn starch
~1/2 cup flour
sour cream
hot chili oil
chives(dried or fresh)

useful utensils:
chopstick
coreing peeling thingy
slotted spoon


boil as many potatos as fries you want (my batch was about 12) Since they're small they don't take long to boil.
As it boils take a small about of the butter and melt it in the microwave in a small bowl. once the butter cools a bit mix in about 1/8-1/4 cup of the shredded cheese then let sit
Let cool till you can handle them.


Use a sharp knife to slice off the very top of each potato, just enough that it can stand flat
use a chopstick or small corer to scoop out the middle of each potato saving the middles.


Take your shredded cheese and mix it with the black pepper. Then stuff it using the chopstick into the hole of each potato being careful to not puncture the skin. After stuffing cup the potato and use the fat end of your chopstick to compact it and add more cheese if necessary.


Take the butter and cheese mixture which should now be the consistency of putty and place it in the top of each potato so that the hole is filled and you have a convex shape back.

Next take the excess potato and mix it with the 1/2T milk, old bay and 1 1/2 T corn starch.
divide the potato mixture into as many balls as potatoes.
cover each stuffed potato with the mixture making sure to cover the open end with the cheese even if the whole potato doesn't get covered.


Place the now potato covered potatoes on a sheet so they are not touching and put into the freezer for at least half and hour.
Heat up oil so a drop of water sizzles right away but doesn't pop.(most likely about 375)
fry the potatoes about 3 at a time for 30-50 seconds (potato should be a light golden brown) scoop them onto a paper towel.

Next mix some flour, milk, garlic powder, cayenne pepper, salt, and black pepper. Then mix in corn starch. Alternately add flour and oil till you get a thick batter and enough of it to coat the potatoes.

Re-heat the oil to about 350

Once the oil is heated dunk each potato in the batter covering it completely and then lowering it into the hot oil again only frying 3 at a time. Fry for about 45 sec-1 min. Then place on paper towel. 


Mix together sour cream and some hot chili oil and top with chives.


Serve while still hot and enjoy :)


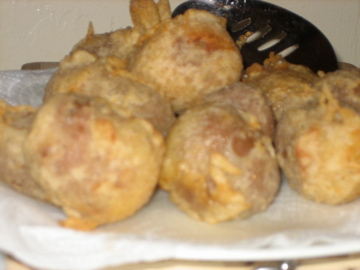
I had some extra potato left over the first time I made it so I decided to make these tiny ones the next day:


Saturday, November 6, 2010

Final Product!

 I will cover the production steps I'm skipping in later posts but for now I would like to show the final product!

Ignore the background apparently crafting last minute creates the same mess as a tornado....
 The corset came out great! I'm glad it stayed on. It took 3 people to get me into it. One holding it shut at the top one pulling the laces and one tightening as they went down!


At the party! Granted I only stayed a little while since I was so tired from the day but at least I got some pictures!